
Leica Q3 and Low Light
Yesterday, I finally had the chance to give the new Leica Q3 a proper test. Since I got mine, I used it a little bit but so far I haven’t done any street photography. However, yesterday I had the chance to bring it to a concert which is a very tough environment for any camera.
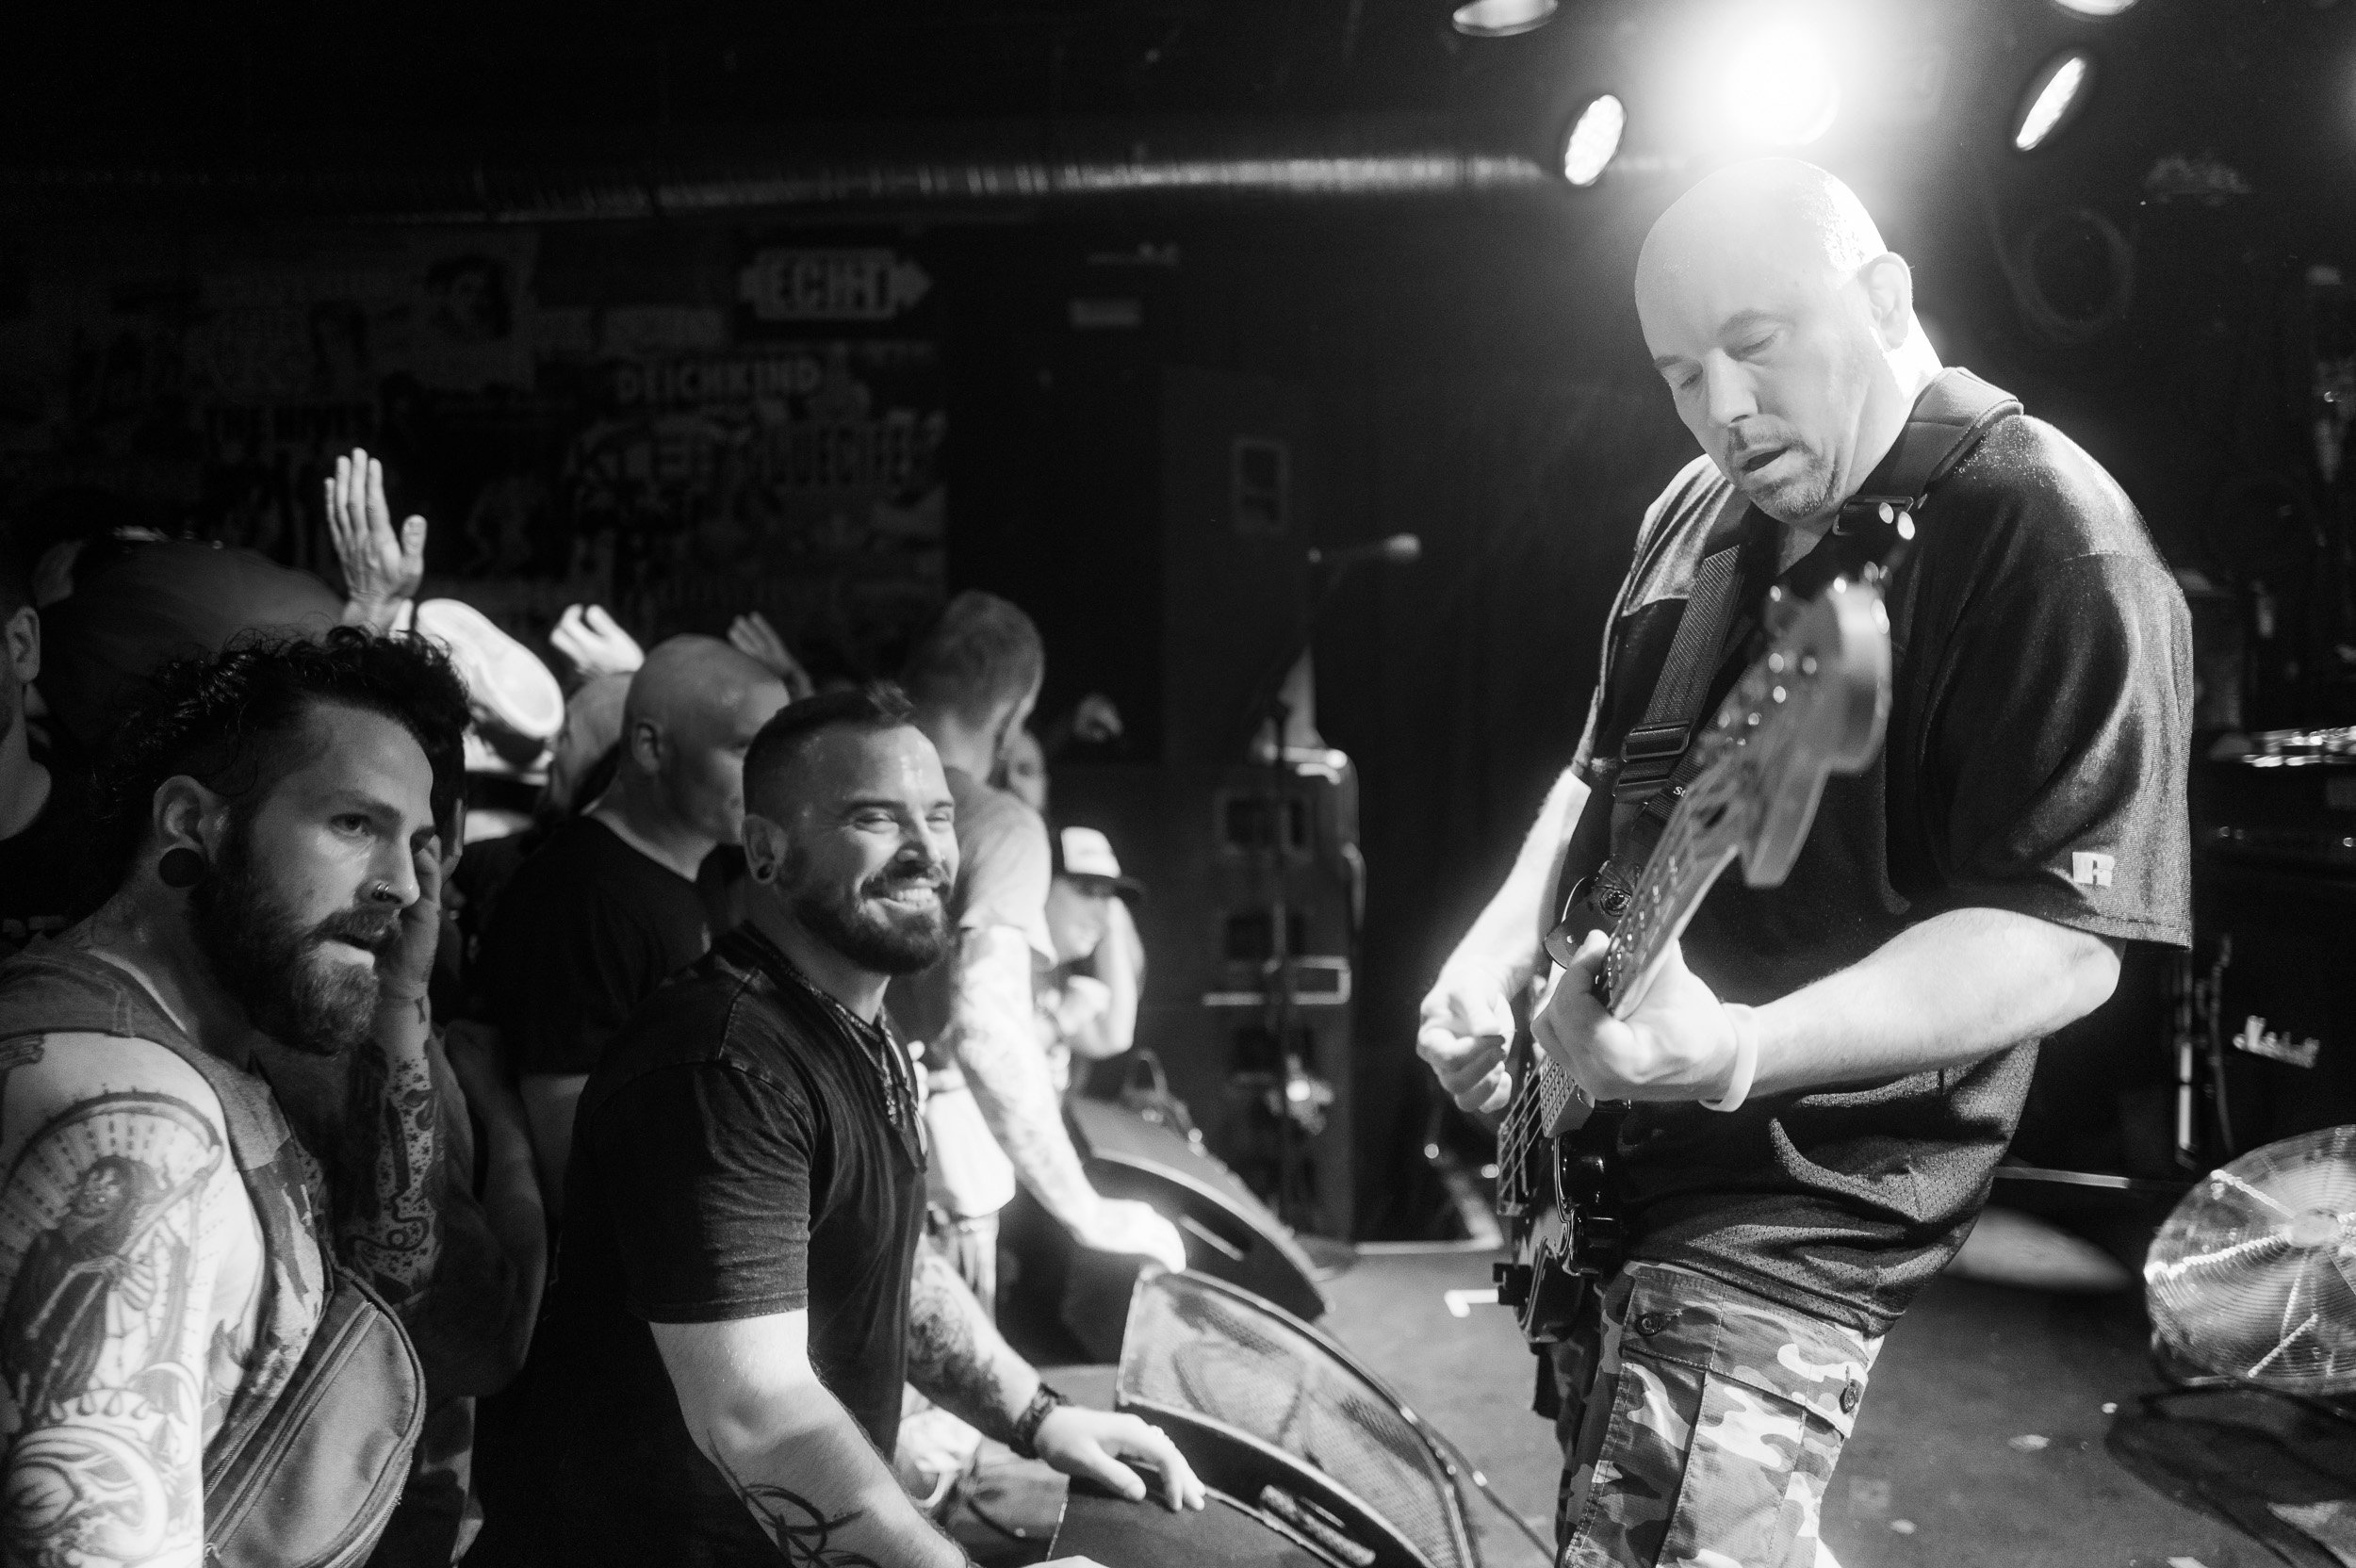
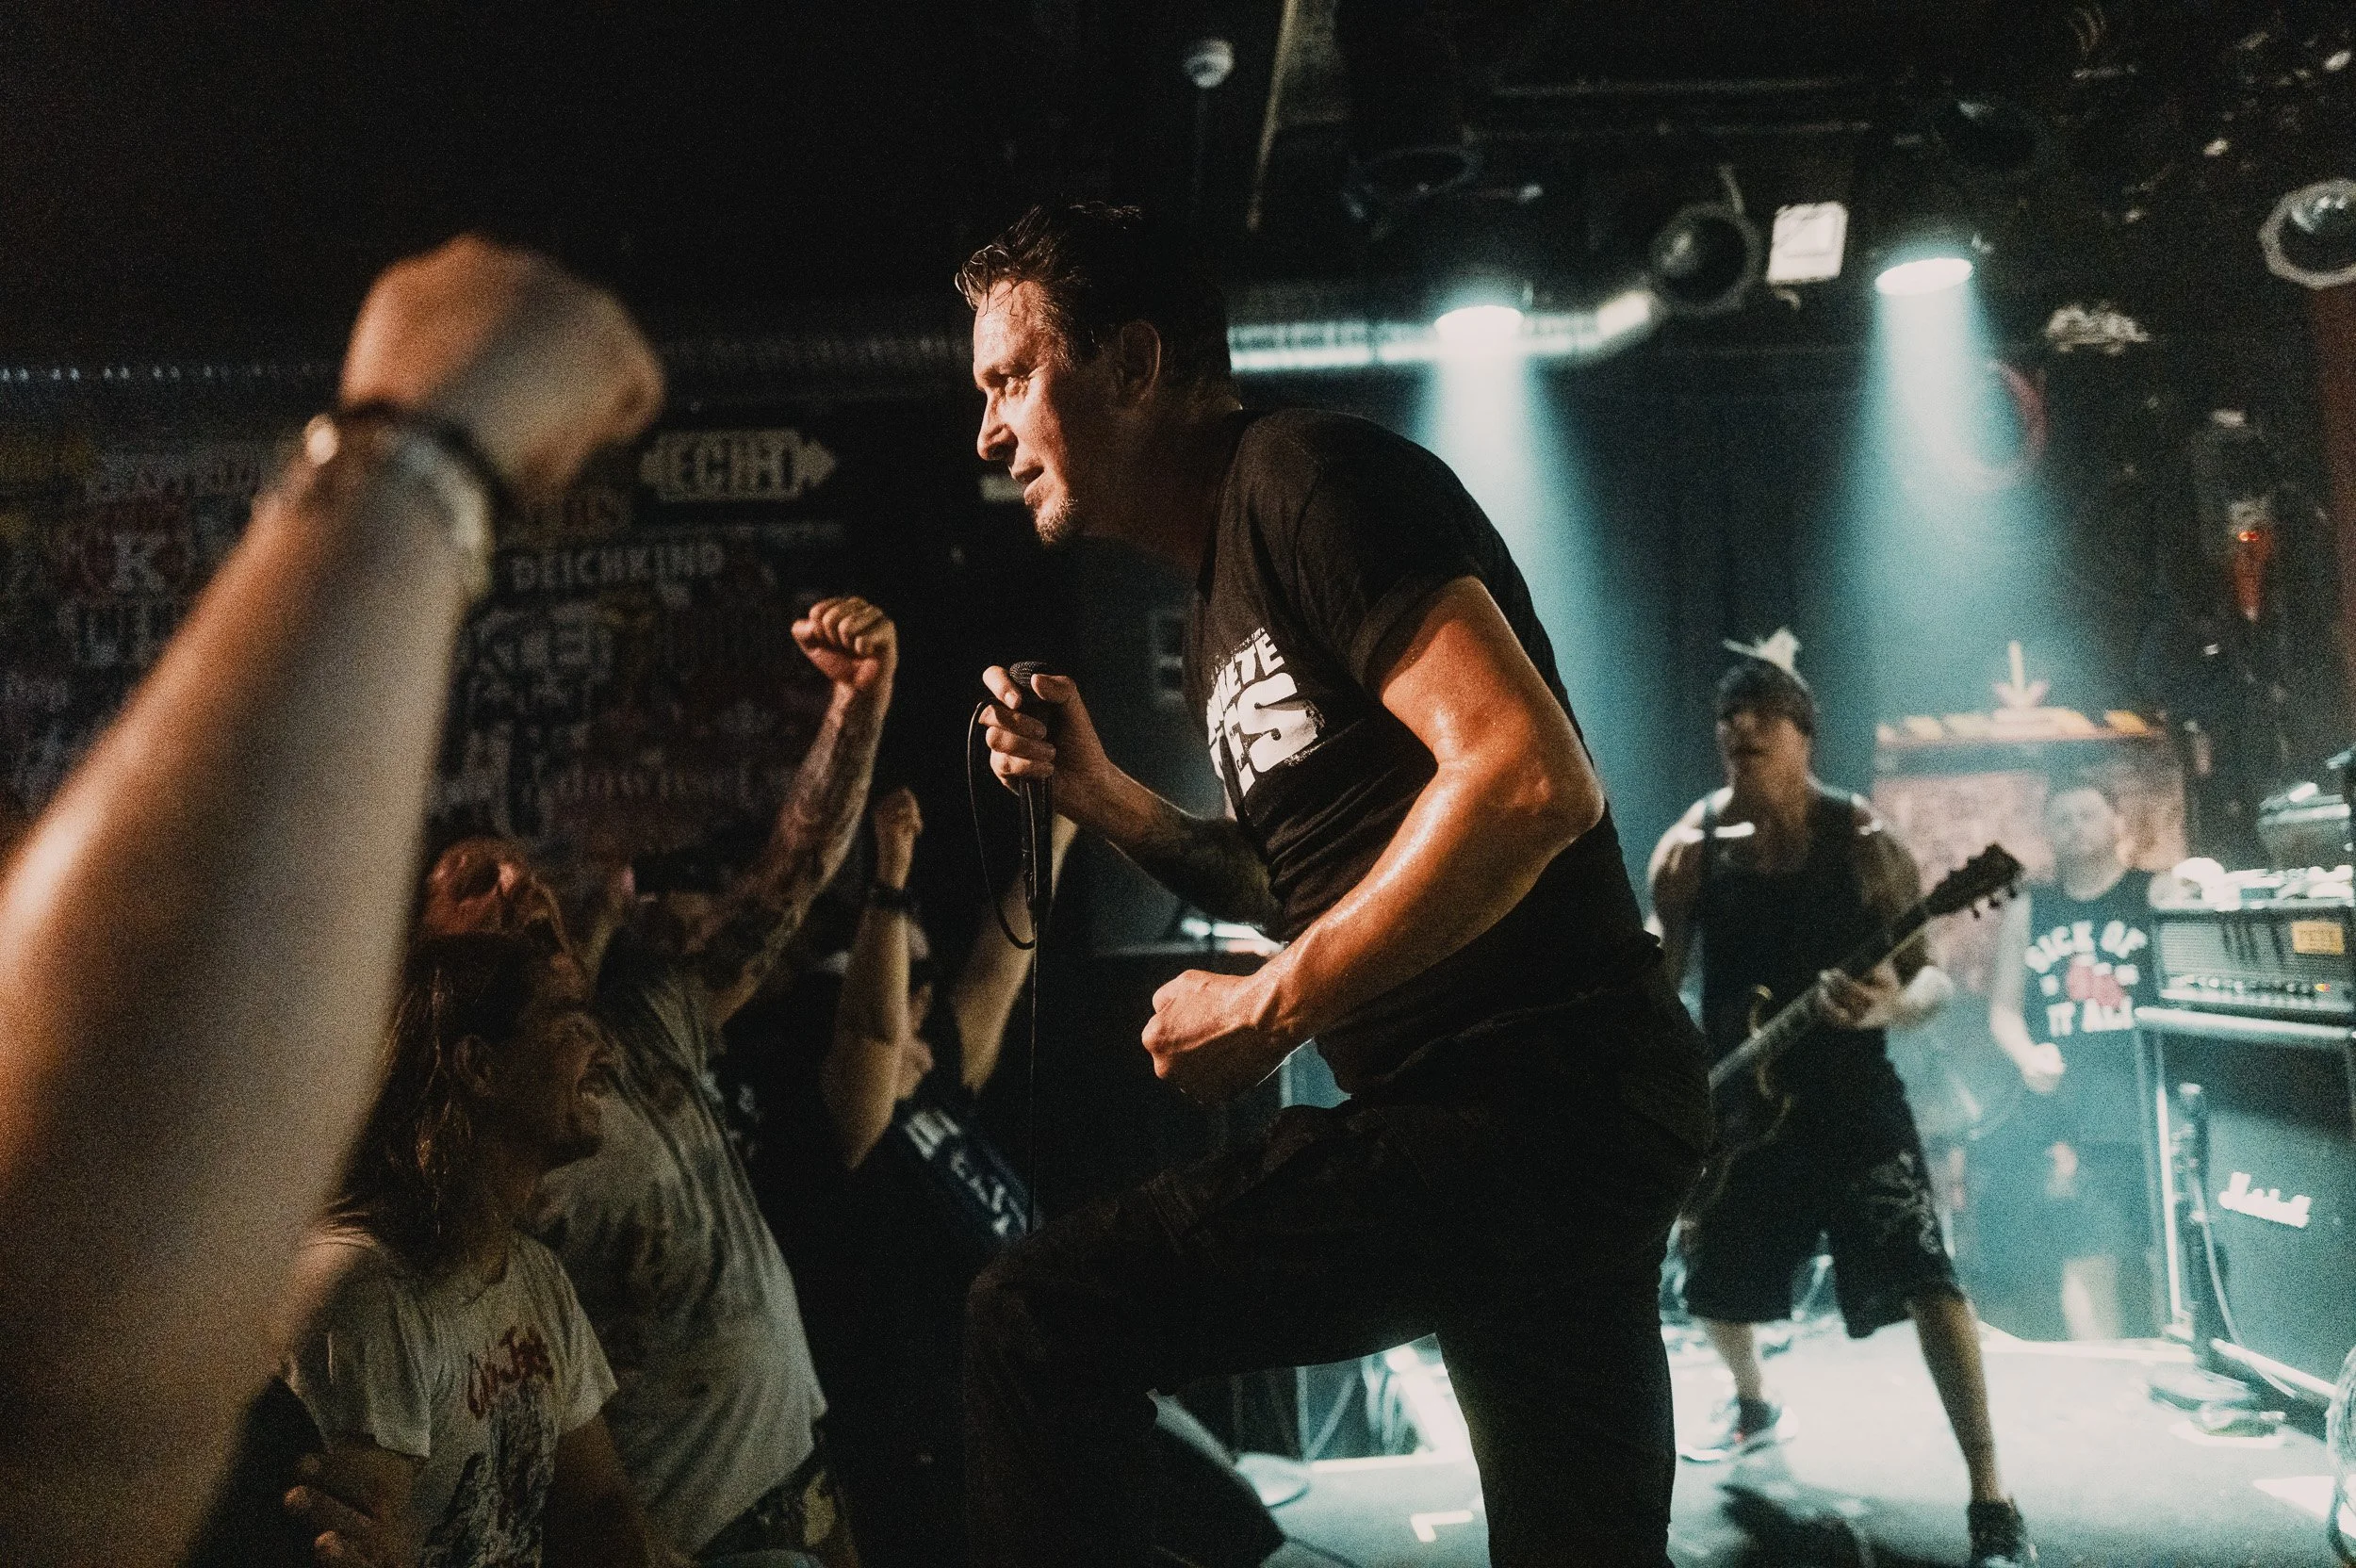
The band that played is called Sick Of It All from NY and it’s one of the biggest names in the Punk and Hardcore scene. Normally, they play big festivals and larger clubs but Cafe Central in Weinheim is fairly small and it was packed to the rafters. For me as a photographer, it’s surely one of my favorite venues for concert photography because there isn’t any barrier in front of the stage and the band get’s in very close contact with their fans.
Yes, for some it might seem crazy to bring an expensive camera to such an event but I have insurance in case something goes wrong which did not happen.
To my surprise, I was the only one taking photos which used to be different in the past. For me, that was a good thing and I got a very good spot very close to all the action.
Photographing concerts like this isn’t that easy because the lighting situation can be challenging. The light sources changing up constantly and especially the red light is a pain in the but because it’s almost impossible to get a proper white balance. For those cases it’s better to convert the images to black and white because in color they would look really bad.
Now you might think that a Leica Q2 Monochrom would probably be a better option for this kind of environment and yes in terms of high ISO it would be better. However, because you are dealing with very bright light sources, you would need to underexpose a lot to make sure the highlights are not totally blown out which happens easily with a monochrome sensor.
So now, how did the Leica Q3 handle the situation? Well, in terms of high ISO I think it did pretty well. Some of the images were shot at ISO1600 and higher and in Lightroom I even bumped the exposure by up to 2 or in some cases 3 stops and the results look still very good. The last image for example was shot at ISO 16000 and was pushed in LR by 1.5 stops and it is still very usable.
In general, because of all the action I had to shoot at 1/250 of a second. In the beginning I tried to shoot at 1/125 but that wasn’t fast enough.
I was also curious about how the autofocus would keep up. I shot mostly in af-c single field and that worked alright. I also tried using af-s single field but that wasn’t ideal because of all the fast-paced action. Yes, I could have used face detection but I am pretty sure that that would have not worked that well.
In front of the lens I used a Black Pro Mist 1/4 filter and all the RAW files were processed in LR.
Enough talking, here are the images.

1. 1/125 - f/1.7 - ISO1600

2. 1/125 - f/1.7 - ISO1250

3. 1/250 - f/1.7 - ISO4000

4. 1/250 - f/1.7 - ISO800

5. 1/250 - f/1.7 - ISO2000

6. 1/250 - f/1.7 - ISO640

7. 1/250 - f/1.7 - ISO800

8. 1/250 - f/1.7 - ISO2000

9. 1/250 - f/1.7 - ISO5000

10. 1/250 - f/1.7 - ISO2000

11. 1/250 - f/1.7 - ISO4000
12. 1/250 - f/1.7 - ISO1600

13. 1/250 - f/1.7 - ISO2000

14. 1/250 - f/1.7 - ISO1000
15. 1/250 - f/1.7 - ISO16000